A Detailed Look at How Pool Pipe Relining Works
Pipepoxy is a fast-curing, three-part system designed to spot-fix or reline leaking sections of pipe without the need for excavation.
A non-Invasive pipe repair method for pools, spas and water features
Using a specialised three-step process — sanding, cleaning, and coating — Pipepoxy is ideal for small-diameter pipes ranging from 25mm to 65mm (1” to 2.5”). These sizes are commonly found in swimming pools, spas, fountains, ponds, and other water features.
Pipepoxy works on a wide range of pipe materials including copper, galvanised, poly and PVC. It can also be used on flexible PVC and poly tubing, making it a versatile solution for all kinds of pool plumbing problems.
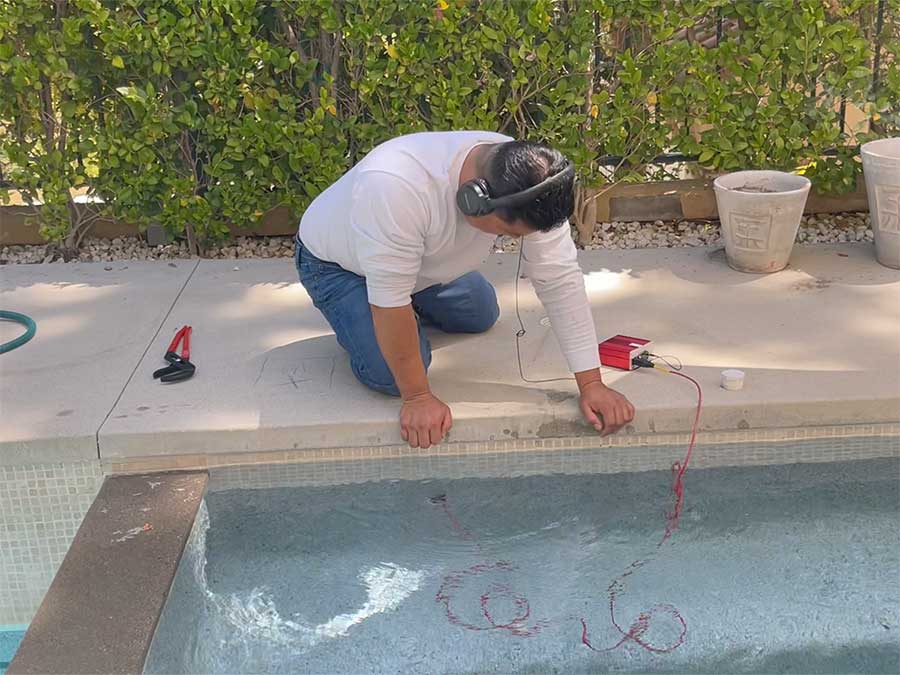
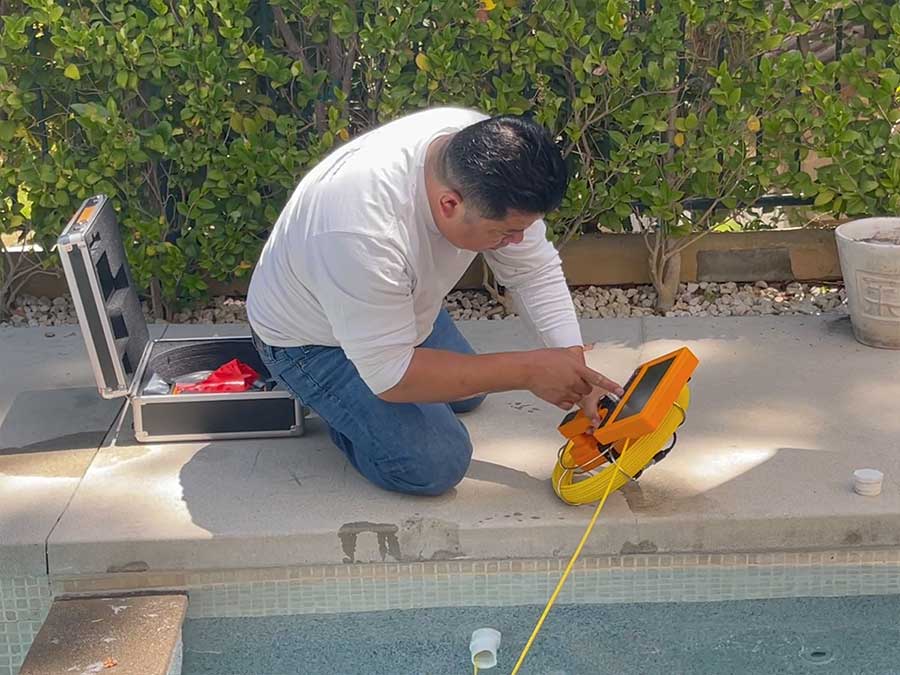
1. Locate and confirm the leak
Perform a comprehensive leak detection and confirm the exact location using a pressure test, hydrophones, or the Hand Held Video Pro included in your kit. If another company has already located the leak, verify their findings before proceeding.
2. Purge the pipe
Use a blower or vacuum to clear the line and ensure it’s completely dry.
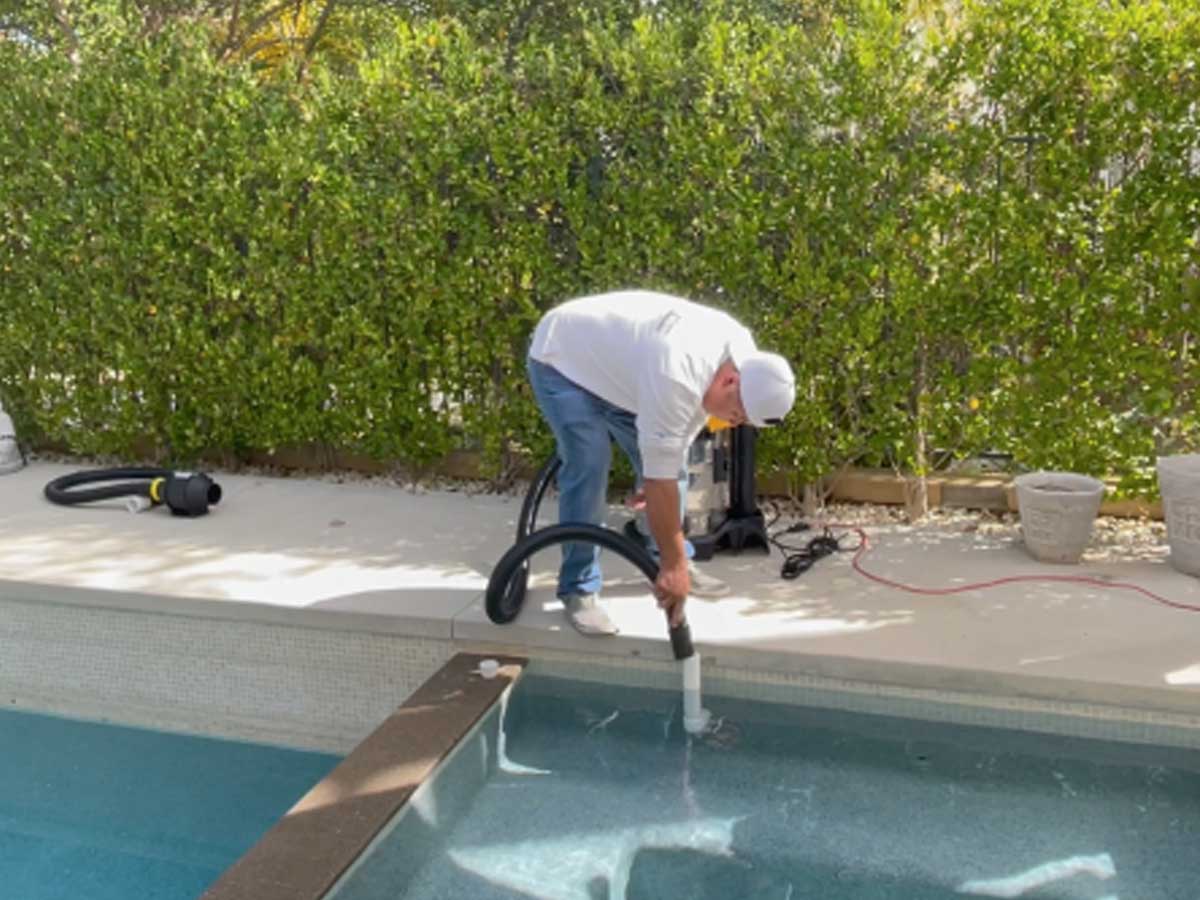

3. Sand the pipe
Sand the inside of the pipe to create a rough surface, helping the Accumix adhere properly during the coating process.
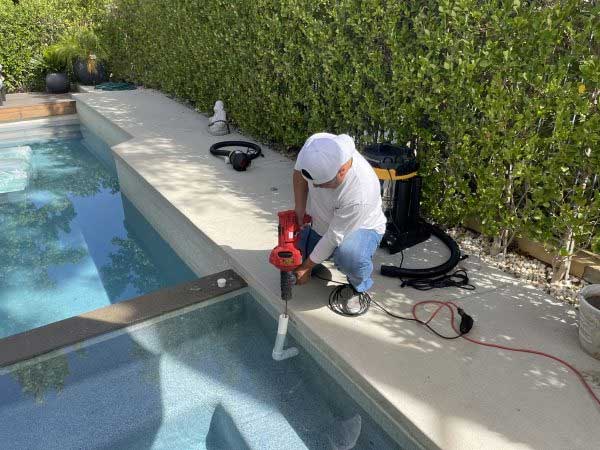

4. Blow out the debris
After sanding, use a blower or vacuum to thoroughly remove all dust and debris from the pipe to ensure a clean surface for coating.
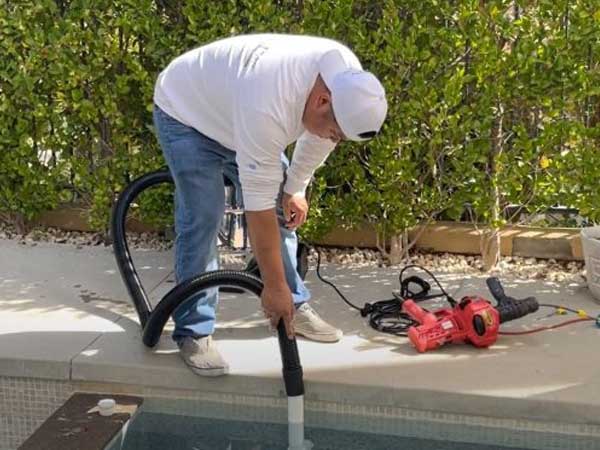

5. Inject or pour the Accumix
Determine how much Accumix is needed for the repair, then inject or pour it into the pipe to ensure full internal coverage of the damaged section.
Let me know if you’d like this step to sound more like a technician’s manual or a training guide.
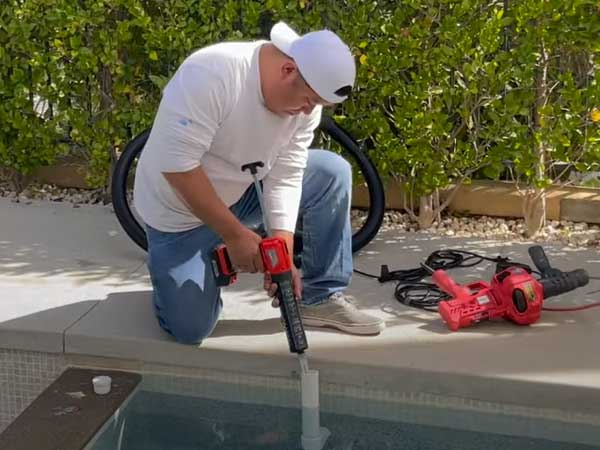

6. Coat the pipe and let it dry
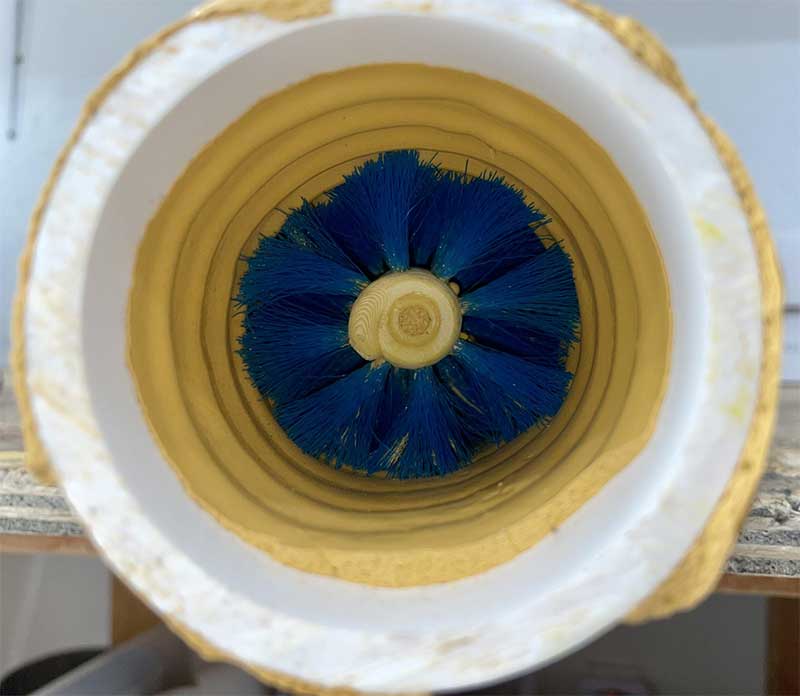
Insert the appropriately sized brush into the pipe and push it through to spread the epoxy evenly along the interior. This ensures full coverage and forces the epoxy into any cracks, holes, or joint separations.
Note: The brush is designed to navigate multiple 90-degree bends.
Once coating is complete, connect the dryer and let it run for approximately 4 hours to allow proper curing.

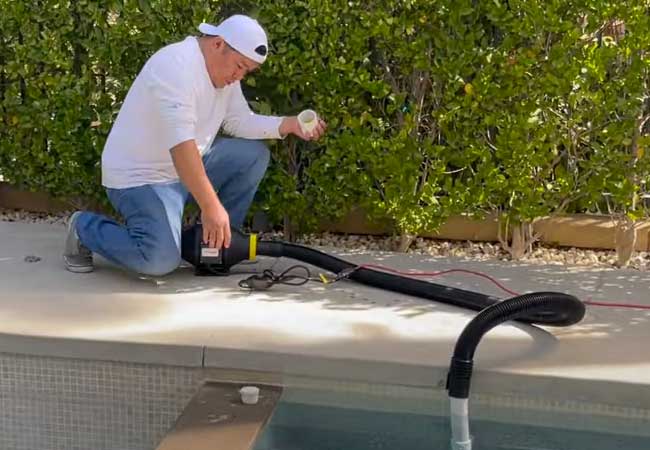
7. Confirm the repair
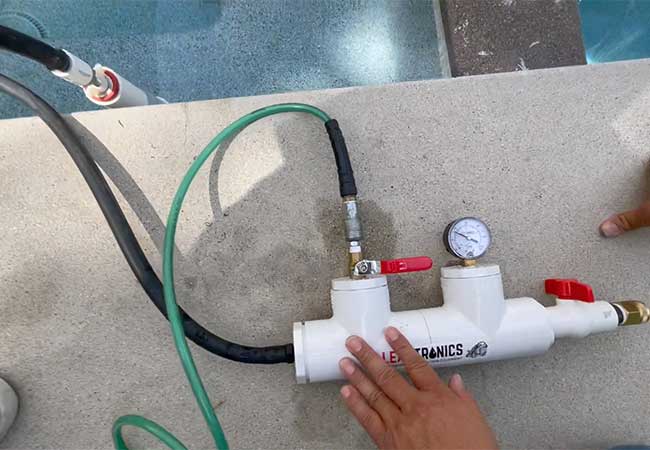
Run an air pressure test to verify the repair. If the gauge holds without dropping, the Pipepoxy system has worked and the leak is resolved.
Let me know if you’d like the whole 7-step process combined into a downloadable format or styled for a website.
